Cart allows your customers to quickly access their shopping cart and view added products, improving the overall shopping experience. You can add and customize the cart feature on your shop pages within minutes.
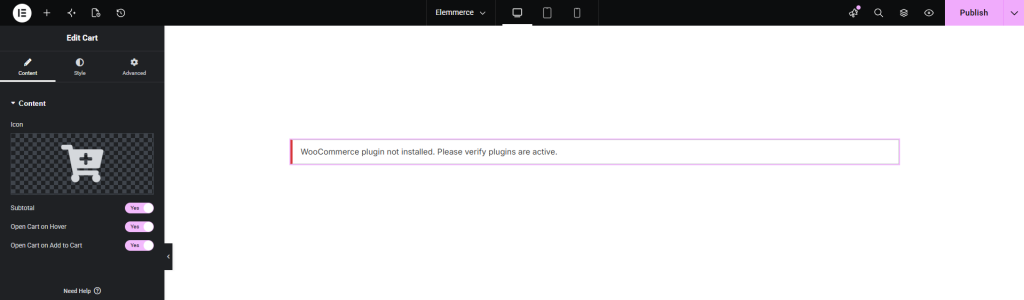
First, ensure that the WooCommerce plugin is installed and activated on your site.
Once activated, the cart functionality will be automatically available on your website.
Note: Make sure you have products added to your store; otherwise, the cart feature will not display any items.
How to Add Cart? #
To utilize the Cart feature, open your desired page in Elementor (existing or new). Navigate to the ‘Elements’ tab and use the search option to find the ‘Cart’ widget. Now simply drag and drop the widget onto the page or the ‘+’ section.

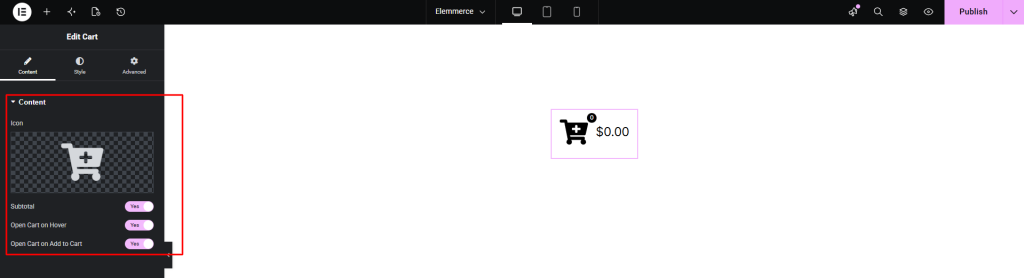
CONTENT TAB #
The Content tab in Cart allows you to customize how the cart button appears. You can configure the following options:
- Icon – Choose or customize an icon to display alongside the button label.
- Subtotal – Enable/Disable to show the cart subtotal.
- Open Cart on Hover – Enable/Disable to open the cart when hovering over the icon.
- Open Cart on Add to Cart – Enable/Disable to automatically open the cart when a product is added.
These options help you adjust the look and behavior of the cart feature to match your website design.
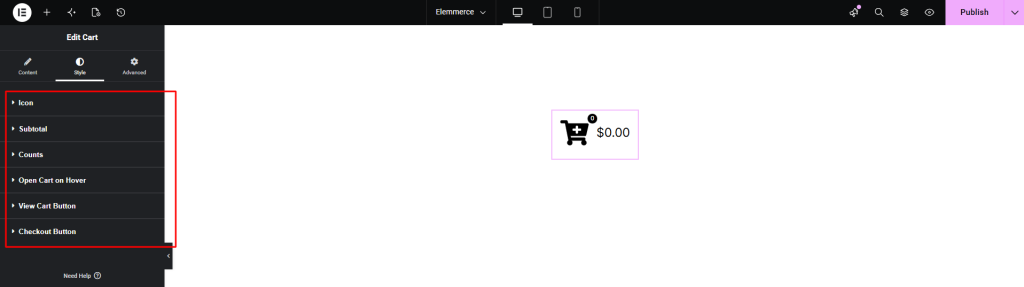
STYLE TAB #
To customize your Cart button (icon and label), navigate to the Style tab. Here, you can adjust the appearance to match your website design.
The Style tab contains the following options:
- Icon
- Label
- Subtotal
- Counts
- Open Cart on Hover
- View Cart Button
- Checkout Button
These options allow you to control the visual styling of the cart button, including its icon appearance and text formatting.